How to Build a Pollinator-Friendly Flower Bed from Scratch
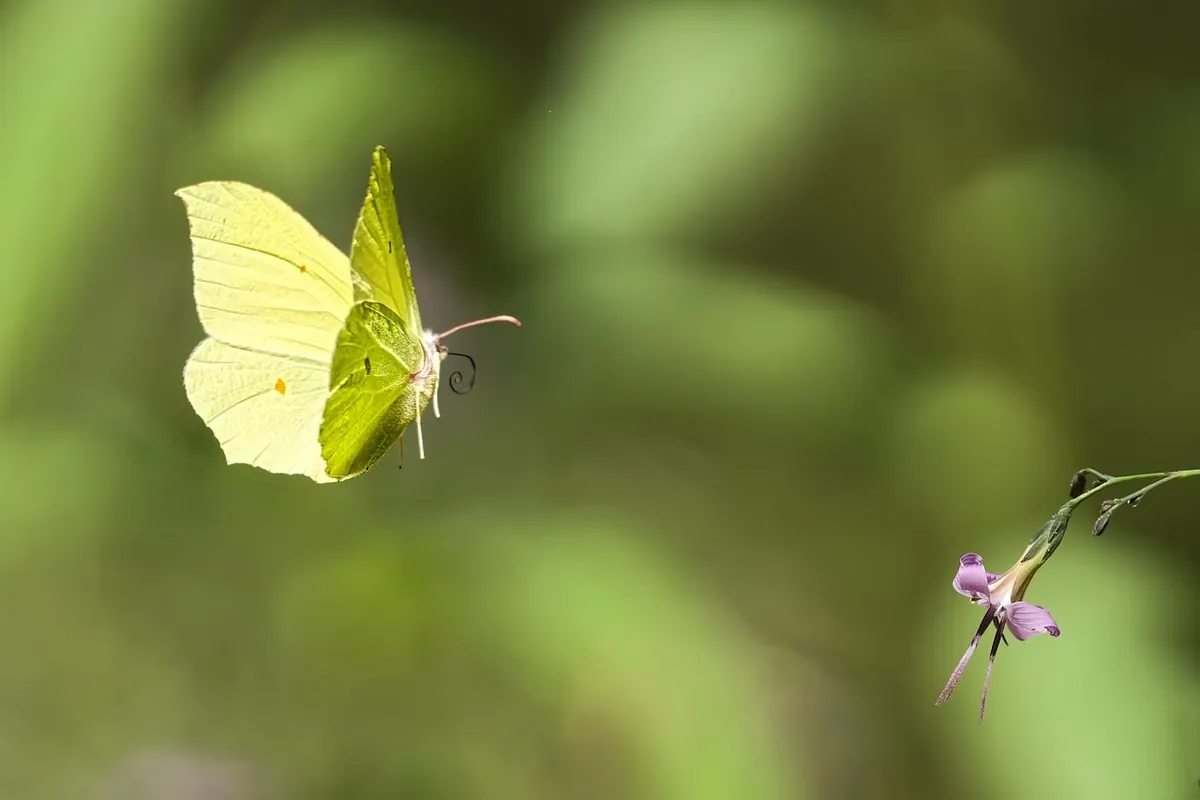
A strip of tired lawn, a patch of bare dirt beside the driveway, a corner of the yard that never quite became anything — any of these will do. A pollinator bed does not need to be big or formal, and it does not need expensive plants. What it needs is sun, the right species, and patience through the first season. Here is how to build one from scratch, roughly in the order the work happens.
Almost every bee, butterfly, and hoverfly you want to attract is looking for the same basic things: warmth, sun, and a little shelter from wind. Aim for at least six hours of direct light, and pay attention to which six. Morning sun dries dew off the leaves and helps prevent mildew; midday and afternoon sun is what most nectar producers really want.
Spend a day watching the site. A fence that shades the bed until eleven is workable. A spot under a mature maple is not — the tree will take the water and the light will never be enough, no matter what you plant underneath it.
Most native perennials handle lean soil far better than they handle wet feet. Dig a hole a foot deep, fill it with water, and time how long it takes to drain. If it is still full after several hours, either choose species that tolerate damp ground — Joe Pye weed, swamp milkweed, ironweed — or raise the bed a few inches with compost. Compacted clay can be opened up with a garden fork; you do not need to haul in sand.
Be honest about weeds, too. If the spot is thick with bindweed, bermudagrass, or creeping thistle, either plan to smother it for a full season or choose a different patch. Starting clean saves a year of frustration.
Native plants are the backbone of a pollinator garden because they evolved alongside local bees and butterflies. That does not mean you cannot grow cosmos or zinnias — they feed plenty of insects and they bloom generously in the first year. It means the natives carry the season, provide food for caterpillars, and come back without replanting.
Start with plants, not seed, if this is your first pollinator bed. A flat of plugs will flower in the same year and will not be mistaken for weeds while you are learning what the seedlings look like. Ask a local native plant nursery or your county extension office what thrives in your area; species lists that work in Georgia will fail in Montana.
A bed that explodes in July and then goes quiet is a diner that closes for lunch. Stagger flowering across the season:
Double-petaled cultivars often look spectacular and offer almost nothing. The extra petals replace the stamens and nectaries, so bees land and find no reward. When you have a choice, buy the straight species or a simple single-flowered variety.
The goal is to remove the existing vegetation and give roots somewhere to go — not to build a rich, fluffy vegetable bed. Overfeeding natives produces tall, floppy plants with fewer flowers.
If the ground is badly compacted, sink a fork in and rock it back and forth before planting. Do not churn the soil deeply; you will only bring more weed seed to the surface.
Water the pots an hour before you start. Set the plants out in their pots and look at the arrangement before anything goes in the ground — it is much easier to move a pot than a plant.
Space plants by their mature size, not by how big they are in the nursery pot. Most perennials want twelve to eighteen inches between them; big grasses and Joe Pye weed want two to three feet. Plant in groups of three or five of the same species rather than one of everything. Pollinators find patches, and drifts look intentional.
Dig a hole about twice as wide as the root ball and no deeper than the plant was growing in its pot. Burying the crown — where the stems meet the roots — is the most common way to kill a new perennial. Firm the soil, water it in thoroughly, and spread two inches of compost or shredded leaves around the plants, keeping it clear of the stems.
A flower bed is a cafeteria. A pollinator habitat also needs somewhere to drink and somewhere to sleep.
New perennials sleep, creep, then leap. In year one, most of the growth is happening underground. The tops may look sparse and disappointing, and that is exactly what should be happening.
Your real job that first summer is weeding. Ten minutes with a hoe each week beats a two-hour rescue session in August. Water deeply once or twice a week during dry spells rather than a light sprinkle every day, which only encourages shallow roots. Resist deadheading every flower: seed heads feed birds through winter and drop new plants where they can find a home.
Keep a rough note of what bloomed in each month, either in a notebook or a photo on your phone. Next spring, add more of whatever the bees ignored least and replace anything that sulked. Widen the bed by a foot a year if you have the room — the bigger the patch of flowers, the easier it is for pollinators to find, and the less the lawn matters at the edges. Two or three seasons in, the bed will reseed, fill in, and start doing most of the work itself.
Photo: caswi / Pixabay
Previous Post
Full Sun vs. Part Shade: How to Choose the Right Spot for 20 Popular Flowers
Next Post
DIY Outdoor Decor Ideas That Survive Rain, Wind, and Frost